Corner Fold Card
- Amy Rich
- May 9, 2023
- 2 min read
The Countryside Inn Designer Series Paper will make any card look amazing, but the card I'm going to share with you today is extra special because it is a fun fold.

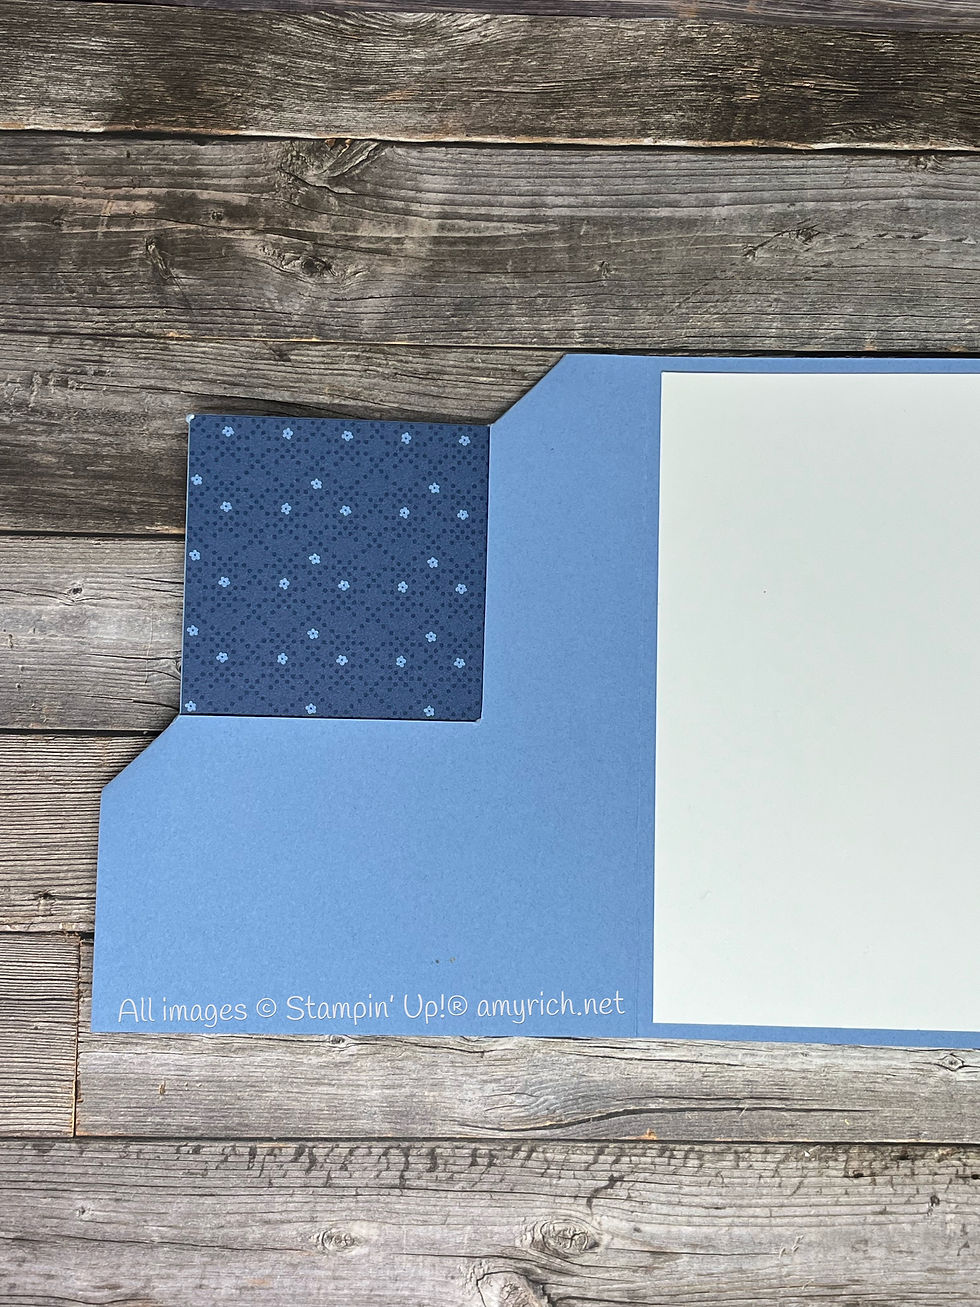
This corner fold card comes together quite simply. First, adhere a piece of 4" x 5 1/4" Designer Series Paper to the front of your Boho Blue card base that measures 8 1/2" x 5 1/2". Then cut two slits as shown in the photo below, making sure not to cut the corner out, but instead leaving 5/8" between the end of the slits and the edge of the card base.

Push the corner through the card front to flip the front to back and back to front. Now, with the a square of Designer Series Paper (DSP) flipped to the inside, even the inside of the card is pretty.
Decorating the front of the card is simple. I put a 2 3/4" x 2 3/4" square of Misty Moonlight cardstock over the plain square in the middle of the card then layered a piece of 2 1/2" x 2 1/2" Countryside Inn DSP popped up over that using Stampin' Dimensionals.

I just love that the square of the DSP is enough of a focal point so I don't need anything else. The label is made using a few of my favorite products.


I stamped the Countryside Corners stamp in Misty Moonlight ink on Boho Blue cardstock, then cut out the second smallest section using the Countryside Corners Dies.

The while label was cut from the smallest die and stamped in Misty Moonlight ink using the Birthday sentiment from the Circle Sayings stamp set. With a couple dots from the Adhesive Backed Solid Gems, this beauty is complete. You can watch as I put this card together:
Scroll to the bottom of this blog post to see all the supplies I used to create the card - with links to my online store.
Happy creating!
Amy
Comments