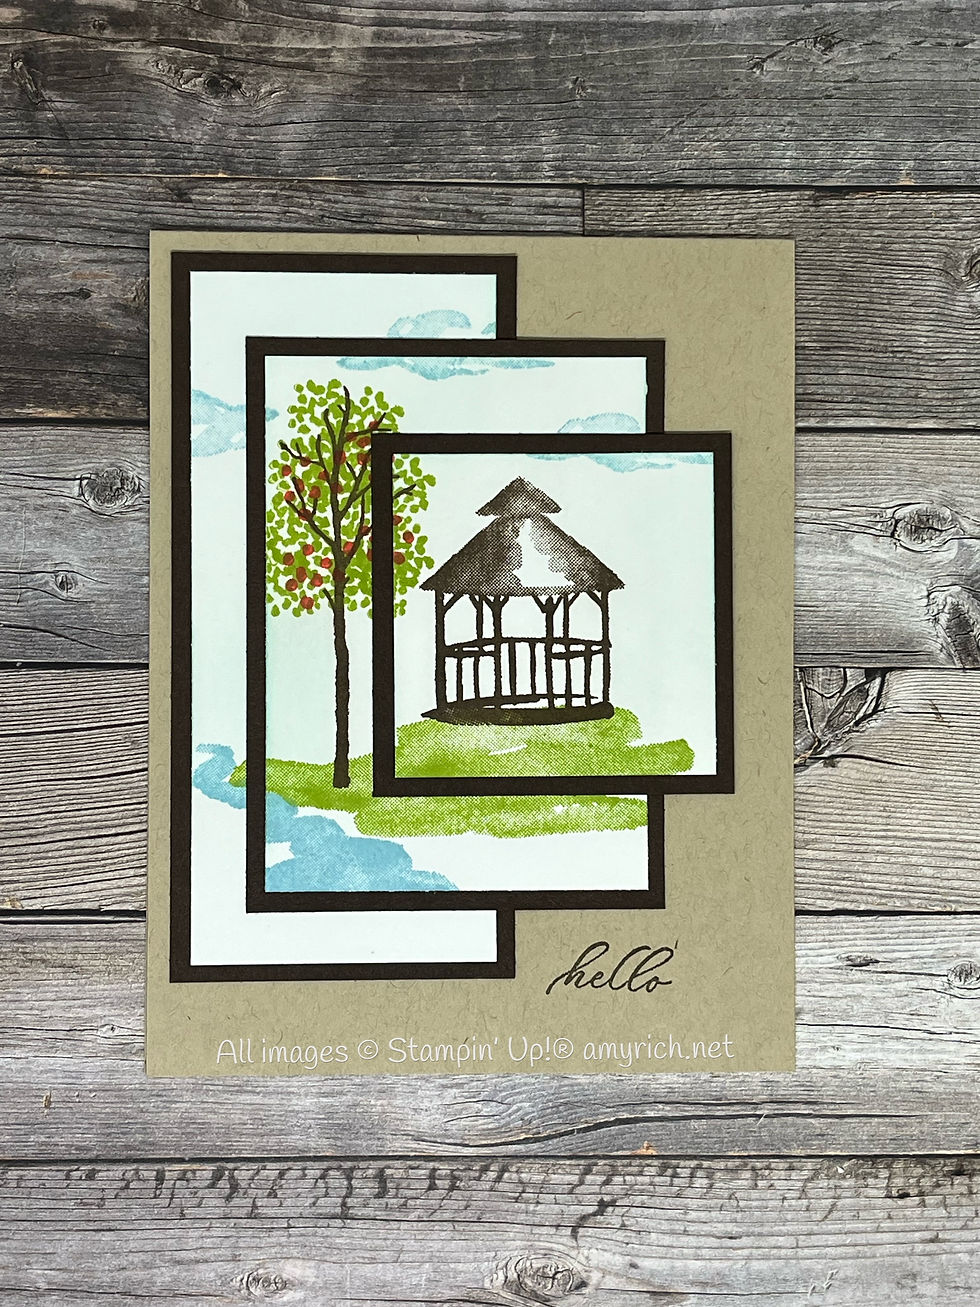
Here's a technique that is easy and can be used with any number of different types of stamped images. I love that Offset Triple Stamping can be done with just stamps, ink, and paper, with no frills or crazy difficulty. Here is the card we made in a techniques class a number of years ago:

During those classes, we also made a technique card, which shares the simple instructions to create this card.
Offset Triple Stamping
Cut pieces of Whisper White or Very Vanilla cardstock in the following sizes: 2 1/8" x 2 1/8", 2 1/2" x 3 1/2", and 2" x 4 1/2". Use a small dot of adhesives to layer the pieces together, as shown, offsetting the pieces. Stamp and decorate the pieces with stamping and/or sponging. Remove the pieces with stamping and/or sponging. Remove the pieces from each other and attach them to colored layers that are 2 3/8" x 2 3/8", 2 3/4" x 3 3/4", and 2 1/4" x 4 3/4". Adhere those pieces back together on the card base, lining up the images through the layers.


It was time to resurrect the technique. Earlier this year I practiced Double Time Stamping and shared a post about it on my blog. You can check it out here. It's so much fun to use that technique, too, but taking it up a notch with doing it triple time is even better.
Per the technique card's instructions, I put the three cut pieces together with just a bit of adhesive, offsetting them gives the card a really cool look. Make sure when adhered together they'll be guaranteed to fit onto the front of the card base.

Next, I stamped images on those white pieces of cardstock, making sure to keep them adhered together while stamping. On this card, I used the Grassy Grove stamp set and did a little sponging, as well.
I then took those pieces apart to adhere them onto their coordinating pieces of colored cardstock, then onto the card base.

Stamp a sentiment, and that perfect card is perfectly done.

You can watch as I put this card together! Head here. For a list of products I used to create the card, along with links to my online store, scroll to the bottom of this blog post.
Happy stamping!
Amy


Comments