The 12 Projects of Christmas 2024: Project #6
- Amy Rich

- Nov 11, 2024
- 3 min read
Stampin' down the middle. That's what I did to create the cards for Project #6. But what is stamping down the middle? It's literally stamping down the middle of a piece of cardstock in both directions and leaving the corners white. There's no trick to my term "stampin' down the middle." It's descriptive, right?
I used the Stampin' Down the Middle technique a couple of years ago to show off the Merriest Moments stamp set. That stamp set was perfect for a Christmas Stampin' Down the Middle, too! You can find that blog post by clicking here.

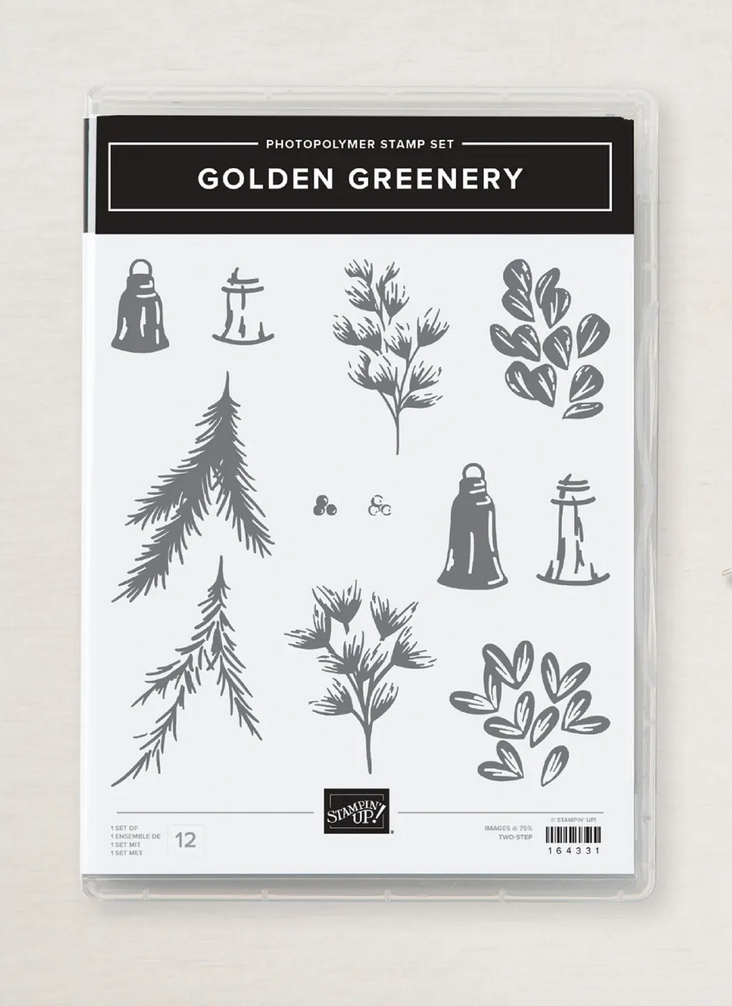
For my 2024 cards, I did a few things just a little differently, but the results are similar. I started with a piece of 7 3/4" x 10 1/4" Basic White cardstock. In 2022, I would have scored down the center of the cardstock in each direction - at 3 7/8" and the other direction at 5 1/8," but this time I planned to eye-ball it. I stamped down the center of that white cardstock in both directions, starting with one foliage stamp from the Golden Greenery stamp set. I used Old Olive ink, and stamped "off" (stamped it on scratch paper once) first.

The companion stamp, which adds the detail, came next.

See how I stamped down the middle of the paper in both directions and how much detail that second stamp adds to the image? So cool!
I continued the process with other foliage stamps from the stamp set in both Garden Green and Shaded Spruce inks, followed by red berries. By following these steps, I've basically created my own Designer Series Paper...stamped down the middle.

Next I cut the paper in half in both directions to create four pieces 3 7/8" x 5 1/8."
I layered the beautifully stamped pieces onto Shaded Spruce cardstock measuring 4" x 5 1/4, then onto Old Olive card bases that I cut 7 3/4" (scored at 4 1/4") by 5 1/2." Cutting the front of the card 3/4" short allowed for me to put a piece of the gorgeous Season of Green & Gold Designer Series Paper on the inside back of the card so it peeks out from behind the short side of the card. I finished off the front of the card with a label from the Greetings of the Season Dies, and the sentiment from the Greetings of the Season stamp set stamped in Real Red ink on a 1 3/4" circle punched out of Basic White cardstock. Finishing the cards off with a knotted piece of Very Vanilla Satin Ribbon really makes it elegant, doesn't it?

And the cool thing is, I could make three more cards very much like the first. Notice how I adjusted the placement of the sentiment, depending on how the foliage fell from card to card.
Decorate the center of the cards to really finish them off.

What a great addition to the 12 Projects of Christmas 2024! What's better than one beautiful card? Well, four beautiful cards, of course! You can watch me make this card here:
You can see the supplies I used to create this card by scrolling to the bottom. Click on each product to find it in my online store.
Thank you for watching! I can't wait to share #7!
Happy stamping!
Amy


Comments