World Card-Making Day
First of all: HAPPY WORLD CARD-MAKING DAY!!! It's a day we celebrate as card-makers and use it as the perfect excuse to spend the day creating amazing cards! You can join Stampin' Up!'s World Card-Making Day for free, and you can find the details here.
The link above will take you to Stampin' Up!'s website where they share a supply list, if you're going to craft along today, as well as written tutorials of the cards that will be made. Even if you can't attend today, you can watch later, and you can download those tutorials to use whenever you'd like! It's going to be a great event, and you won't want to miss it!
Z-fold goes Halloween
The very first fun fold I ever made wow'd me. The simple z-fold was so clever, looking complicated...yet it was easy to put together. Since my first z-fold card, I've learned that z-folds can take many different forms. During What's Up! Stampers this week, I decided to go back to those first fun fold days by making the simple z-fold.
The landscape version of a simple z-fold card starts with a piece of cardstock measuring 11" x 4 1/4", scored at 2 3/4" and 5 1/2". Then you fold the card in half on the 5 1/2" score line, then back on itself on the 2 3/4" score line. What comes next can vary, but I chose to make a card front measuring 5 1/2" x 4 1/4" to fit right on that front flap. The top view of the simple z-fold looks like this:

It was my strong desire to use the Bag of Bones Bundle for this card because, well...it's October!
And it's just too stinkin' cute to stick on the shelf.

When studying the Designer Series Papers, I came across this gem:

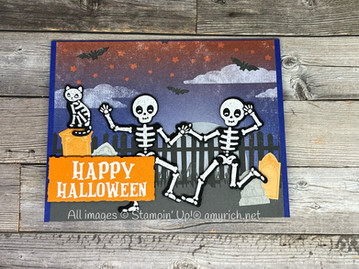
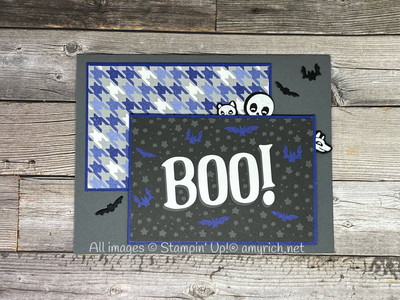
The plan to create was easy: Cut these pieces apart and make 9 fun cards with them. What I ended up doing was a bit different, since some of the pieces really worked well together. I ended up making 6 cards instead, but each is so fun!
For What's Up! Stampers on Wednesday, I used these two designs.
I cut the first one down to 5 1/4" x 4" to layer on the front of the card. I decided on the focal point to be a skeleton and his dog and figured embossing the bones in white embossing powder on black cardstock would be most natural. I used the stamps and dies for the skeleton that has the body and limbs separate so I could attach them together with brads and have a pose-able image. Ack! So cute!

And final product for this card turned out pretty fun, and of course, Basic Black, Pumpkin Pie, and Cajun Craze make a great color combo for Halloween cards.

The center layer for the card uses the cut piece from the 12" x 12" piece of Designer Series Paper, then layered onto a piece of 4 1/4" x 3" Basic Black cardstock.


Watch here as I make the card, and use the supply list below to click to the products in my online store. In the meantime, check out these other 5 cards I made with the Designer Series Paper Pieces, and stay tuned as I share them in more detail in upcoming blog posts!
Happy z-folding!
Amy


Comments